> ## Documentation Index
> Fetch the complete documentation index at: https://developers.upmarket.ai/llms.txt
> Use this file to discover all available pages before exploring further.
# Example application
> Try Upmarket by using the example application.
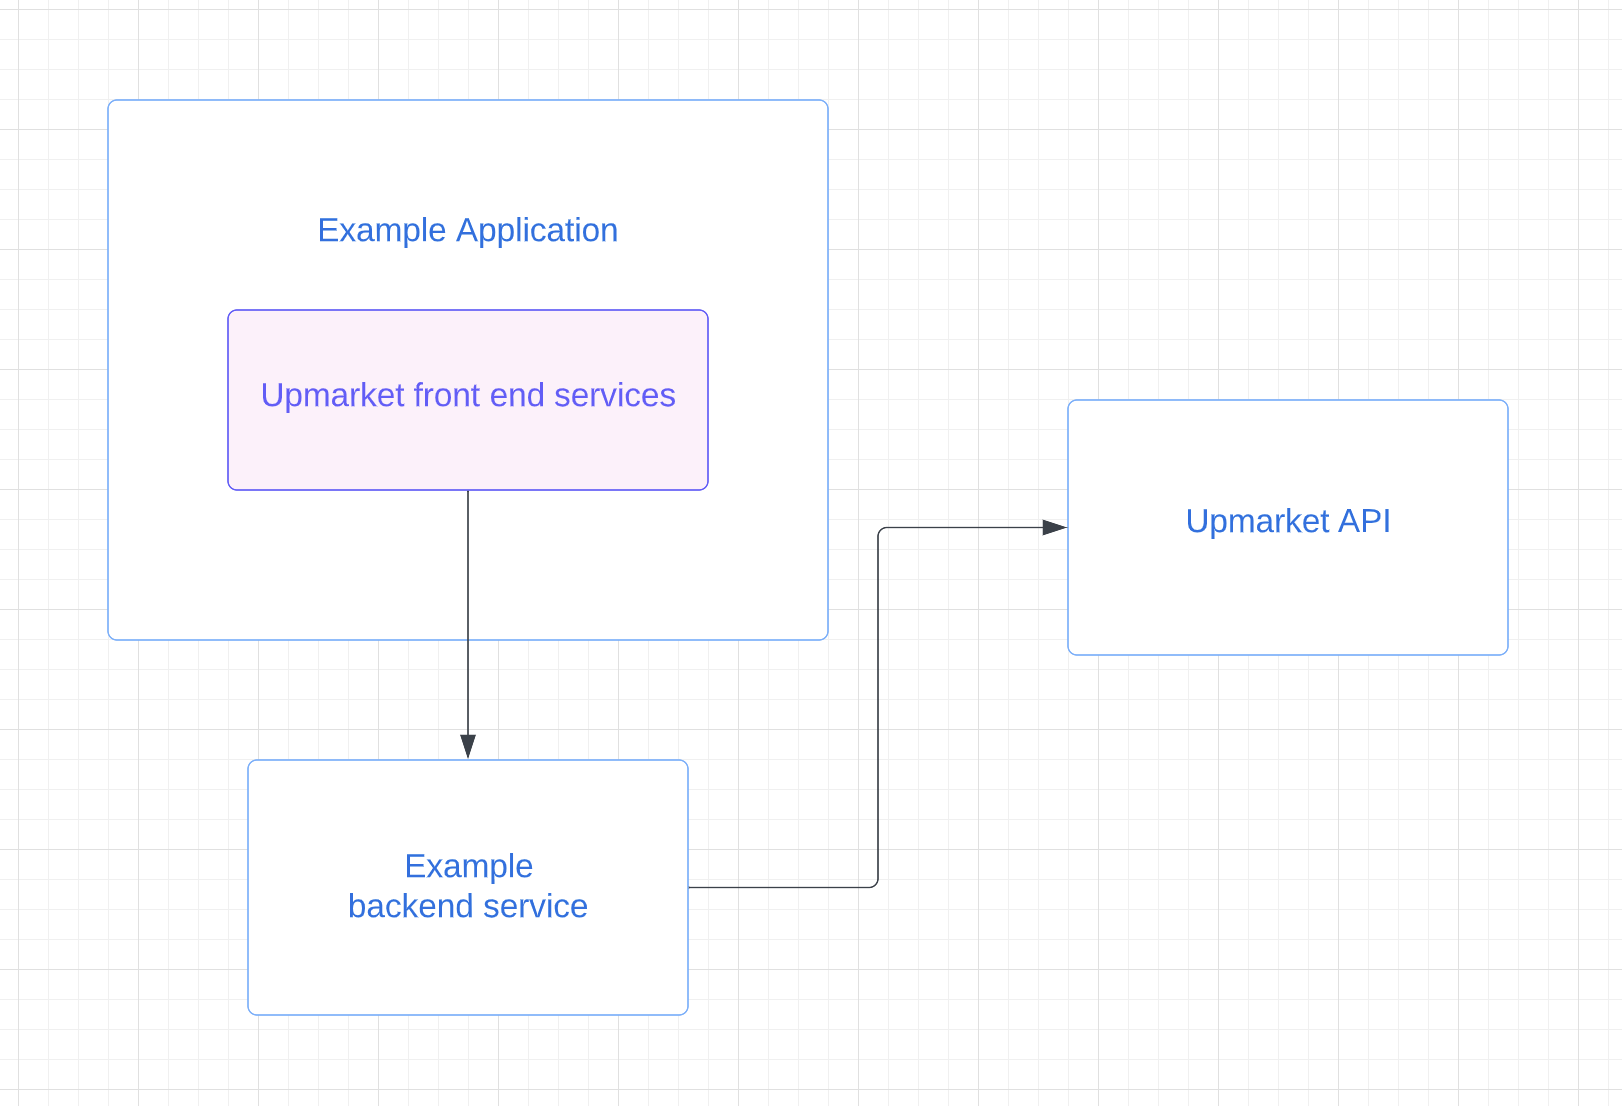
Using Upmarket starts with connecting your product to the Upmarket API. There are two parts to do this, front-end functions and a backend service.
 Note: Before starting with the example application, get your API token from Upmarket here .
## 1. Deploy the example backend
To get started with the example application, set up the NodeJs example backend
by following the instructions in the README.
You can either run the backend locally or deploy it to Heroku with a free account.
The example backend works with the example application to authenticate the requests and submit them to the Upmarket API.
## 2. Run the example application
Build and run the example application from here.
## 3. Send events to the API
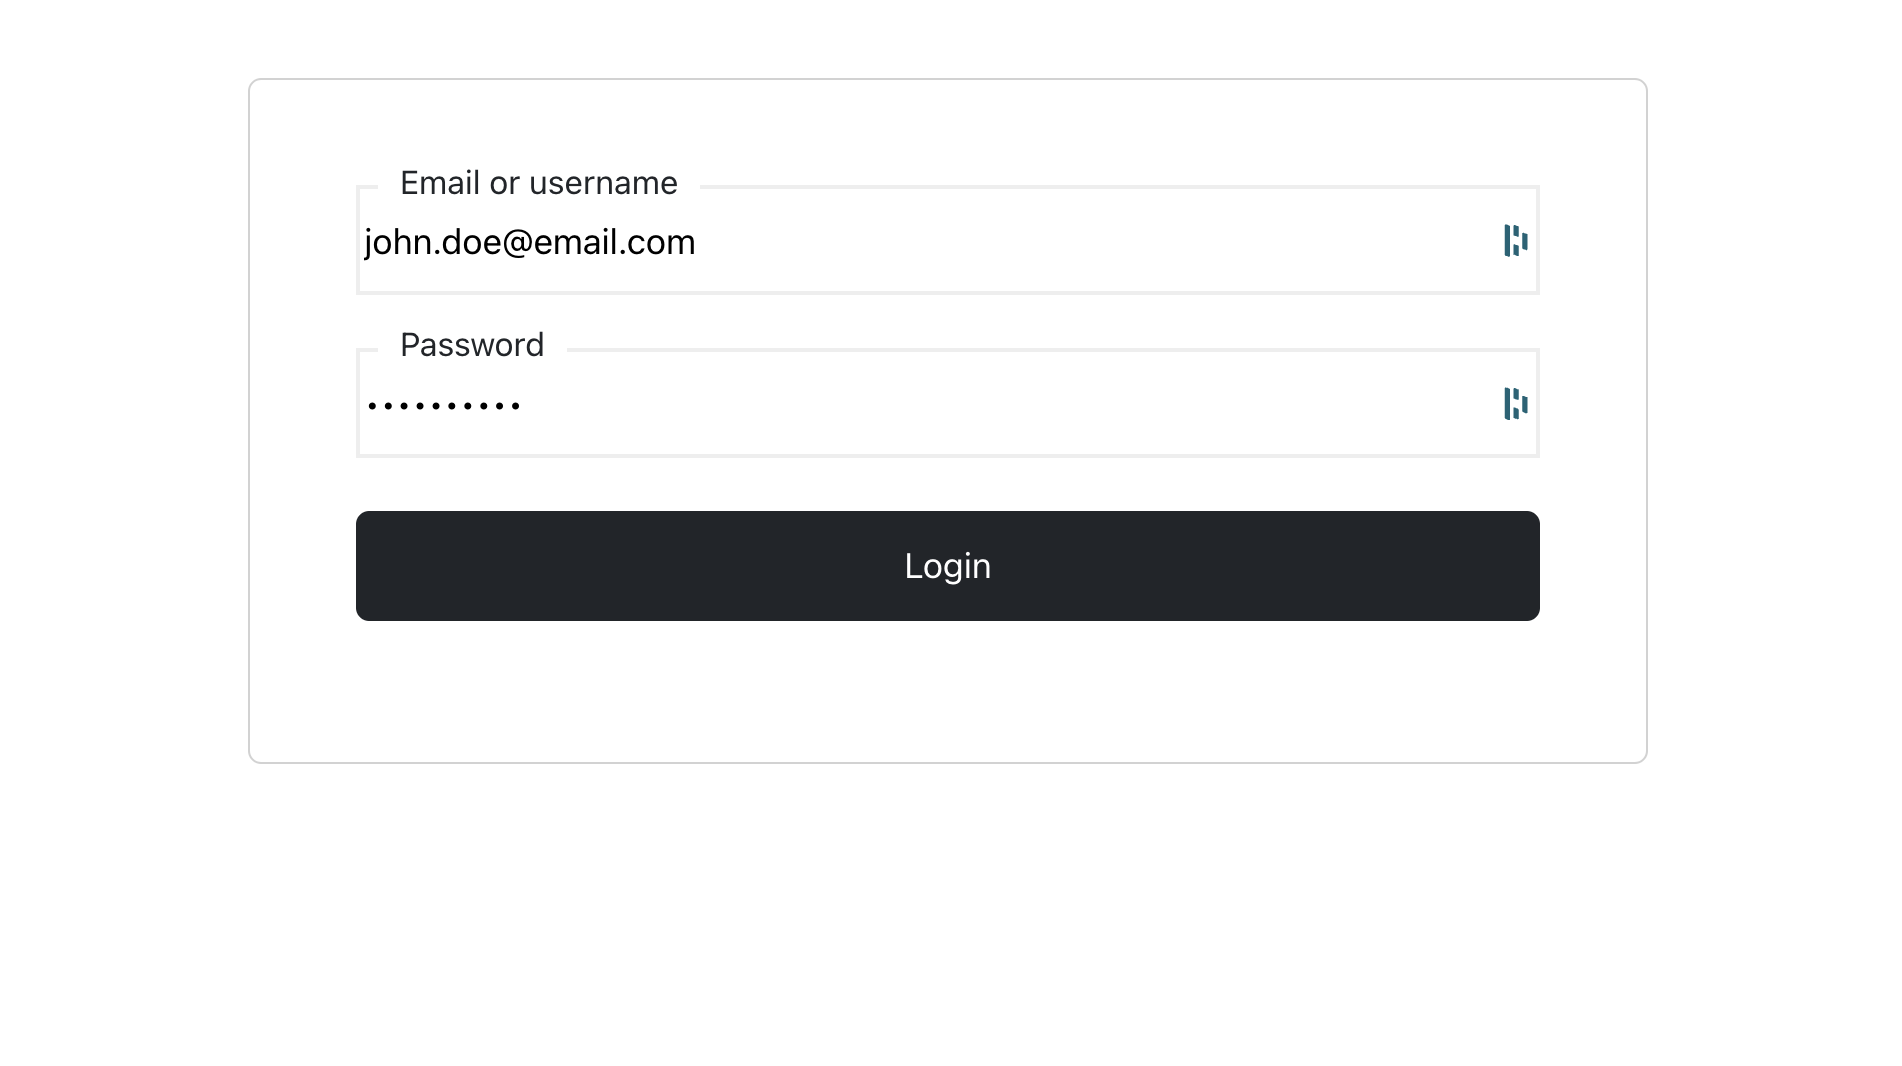
After you have the example running, sign into the example application to submit a sign\_in event.
The event creation will use the generated customer\_id from the initialize step.
Note: Before starting with the example application, get your API token from Upmarket here .
## 1. Deploy the example backend
To get started with the example application, set up the NodeJs example backend
by following the instructions in the README.
You can either run the backend locally or deploy it to Heroku with a free account.
The example backend works with the example application to authenticate the requests and submit them to the Upmarket API.
## 2. Run the example application
Build and run the example application from here.
## 3. Send events to the API
After you have the example running, sign into the example application to submit a sign\_in event.
The event creation will use the generated customer\_id from the initialize step.
 Note: You will need the **journey\_id** from the Upmarket Dashboard. When you navigate to the Journey page, it will be displayed in the URL.
 ## 4. View events in the Dashboard
You can view streamed events from the example application to Upmarket from the **Journey > Event history** tab.
## 4. View events in the Dashboard
You can view streamed events from the example application to Upmarket from the **Journey > Event history** tab.
 ## 5. Trigger Boosts in the Dashboard
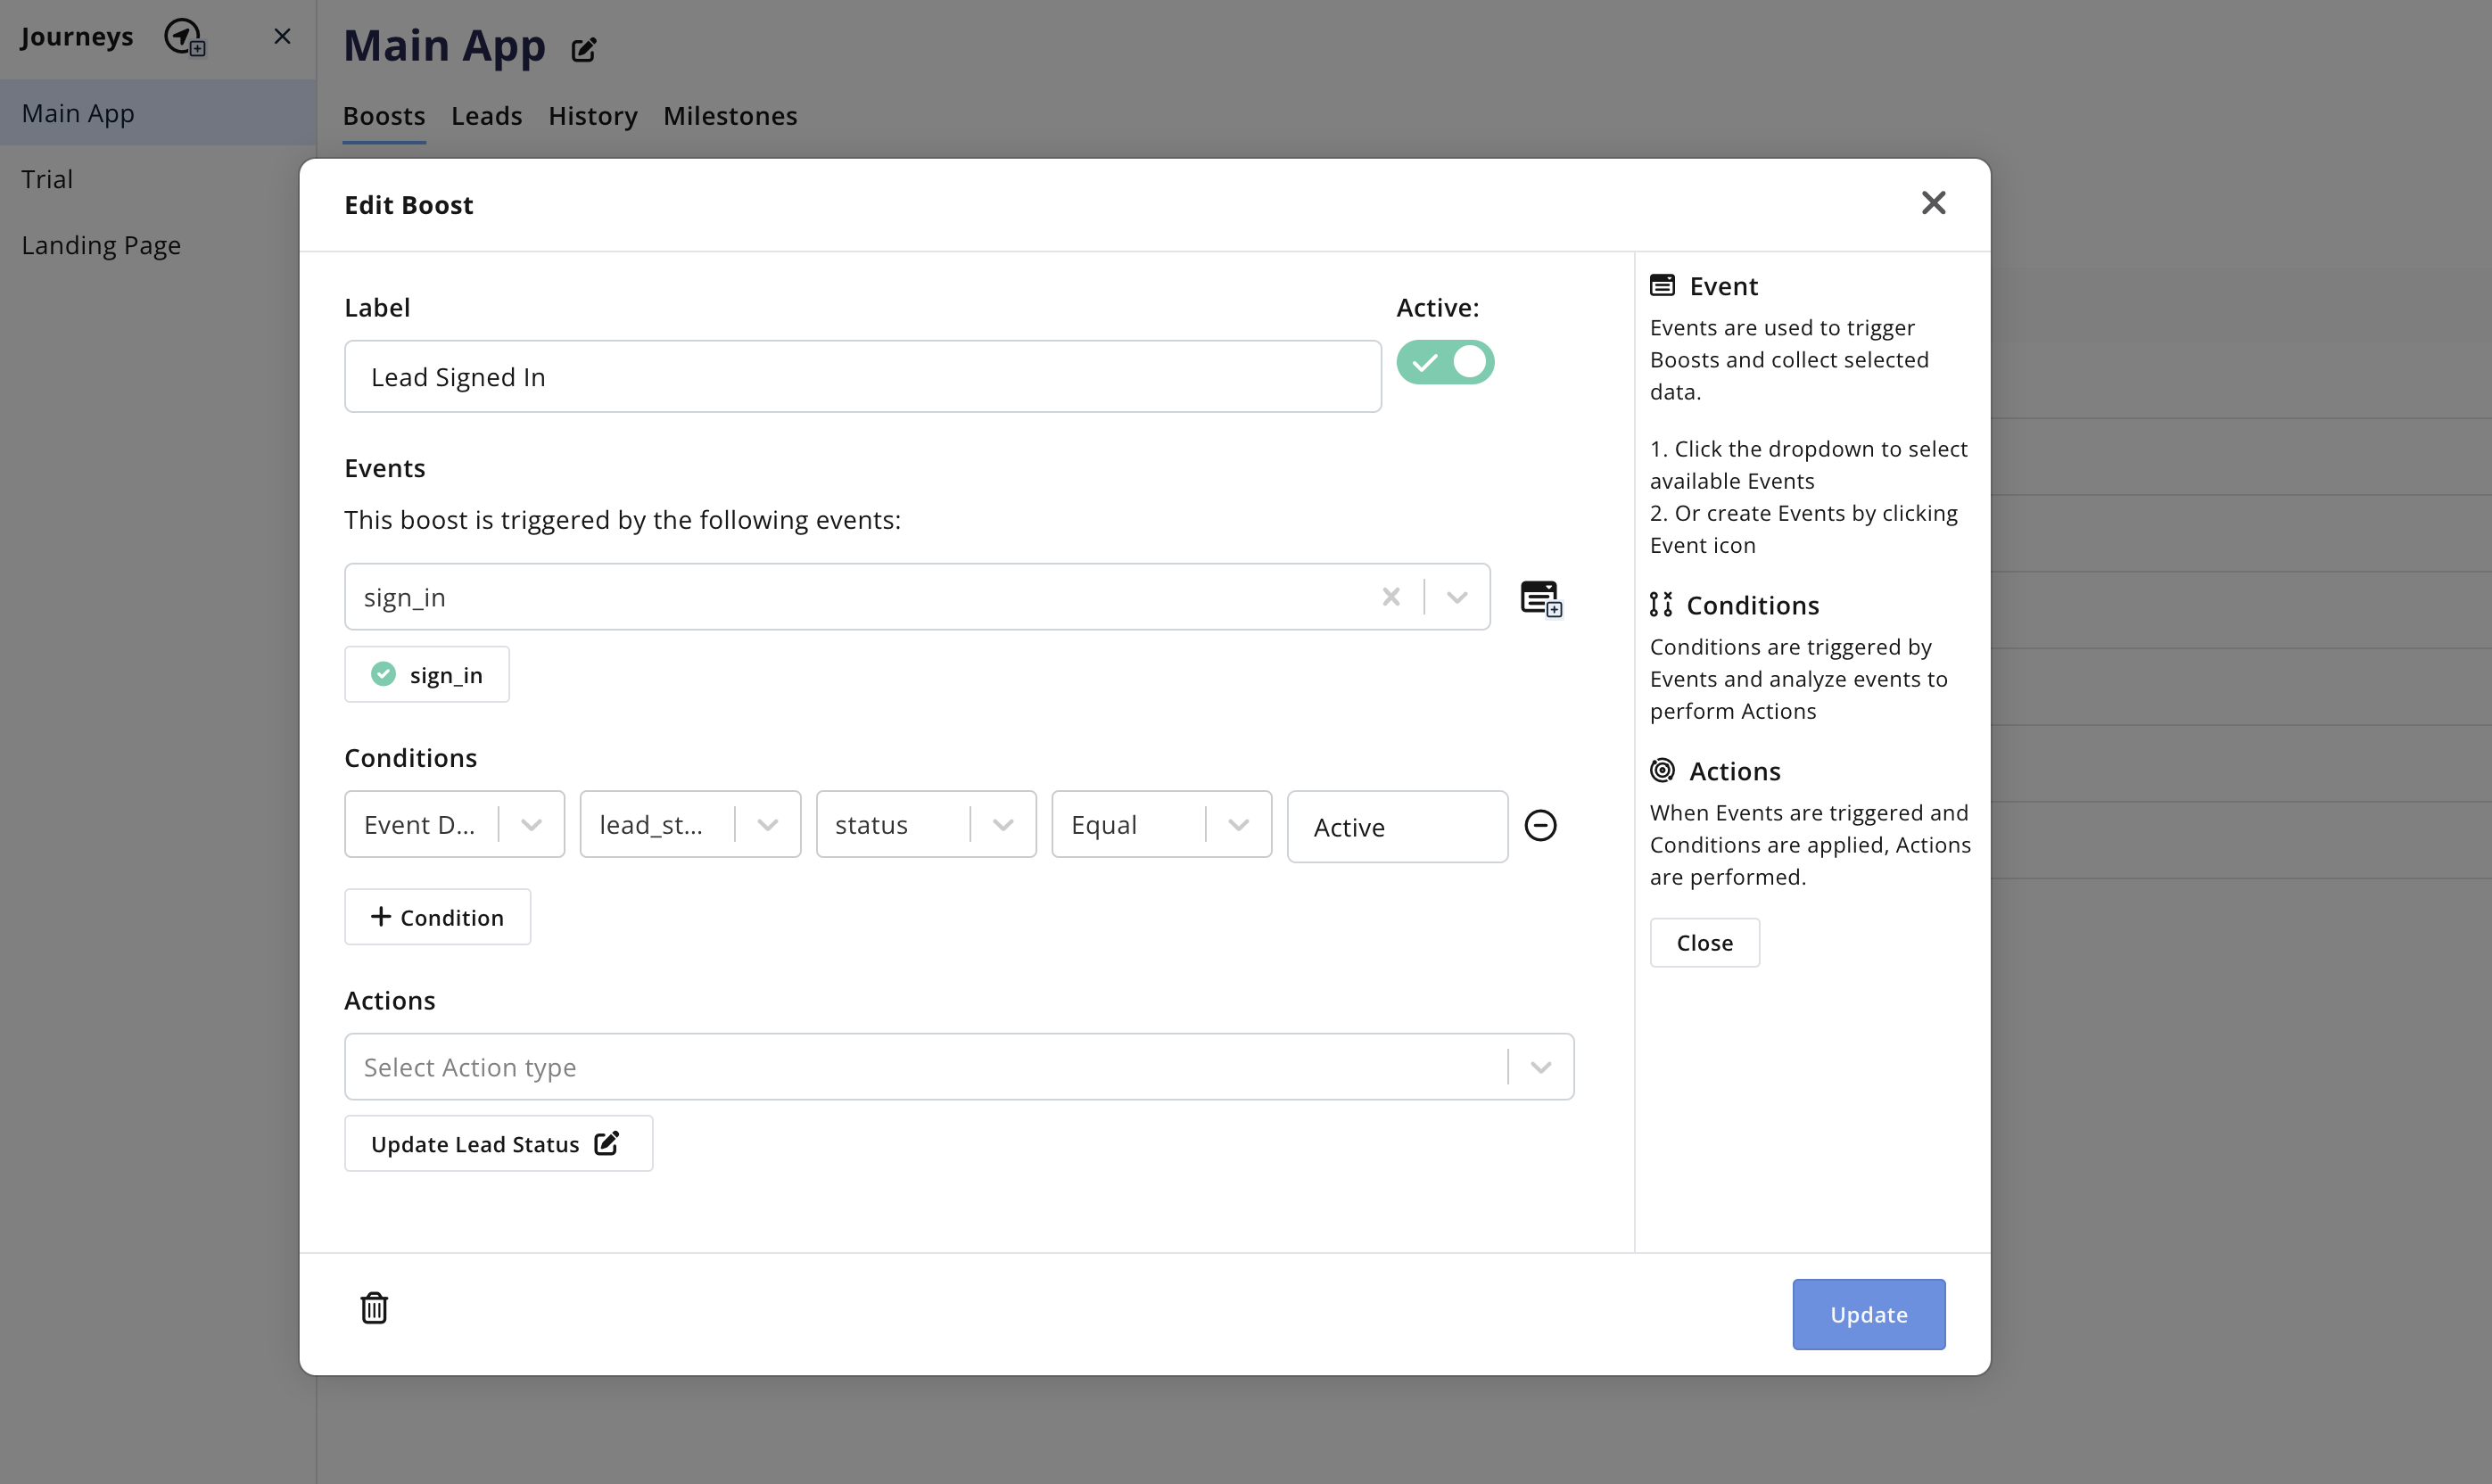
You can now use events to trigger Boosts that perform actions like sending emails, notifying the team, and creating contacts.
## 5. Trigger Boosts in the Dashboard
You can now use events to trigger Boosts that perform actions like sending emails, notifying the team, and creating contacts.